How to export Revit to AutoCAD? In this comprehensive guide, you will learn the step-by-step process of exporting your Revit views to AutoCAD (DWG) format for seamless drafting and project collaboration. Follow the steps below to master this essential workflow
Exporting Revit Views to AutoCAD
A Step-by-Step Guide for Engineers
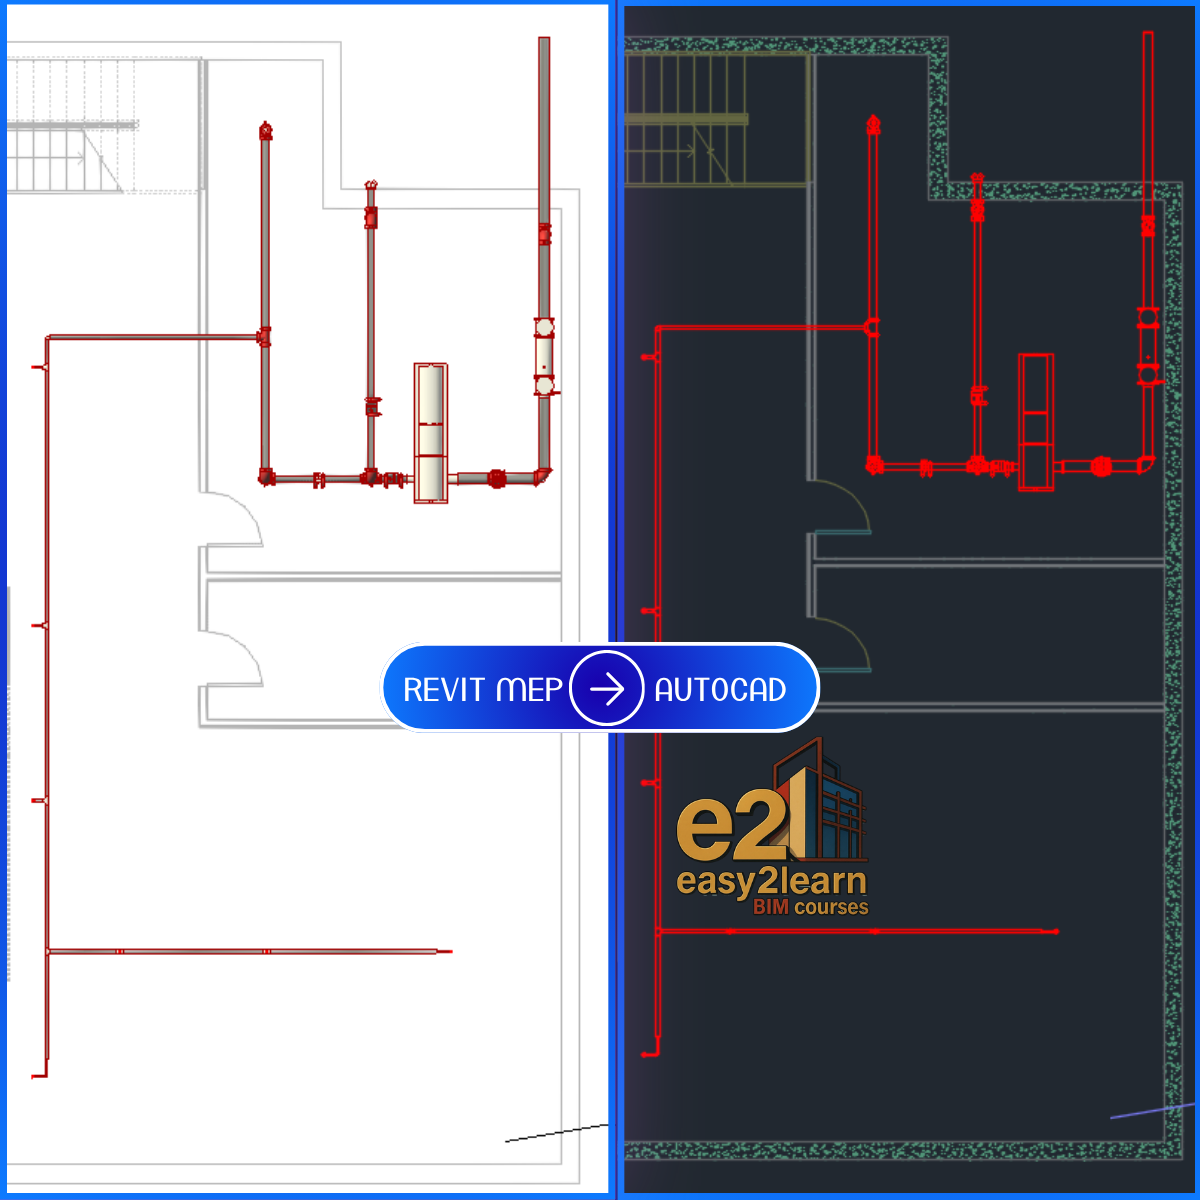
In Revit, you can easily export any project view to a standard AutoCAD (DWG) format. The process begins by selecting the “Export” function and choosing “CAD Formats,” then specifying which specific view you wish to export. A configuration window then appears, allowing you to name the output file and select the appropriate AutoCAD version for compatibility. Once the export is complete, the resulting DWG file can be directly opened and edited in AutoCAD for further drafting work or sharing with project collaborators.
In Revit, you can export a view to a plain AutoCAD

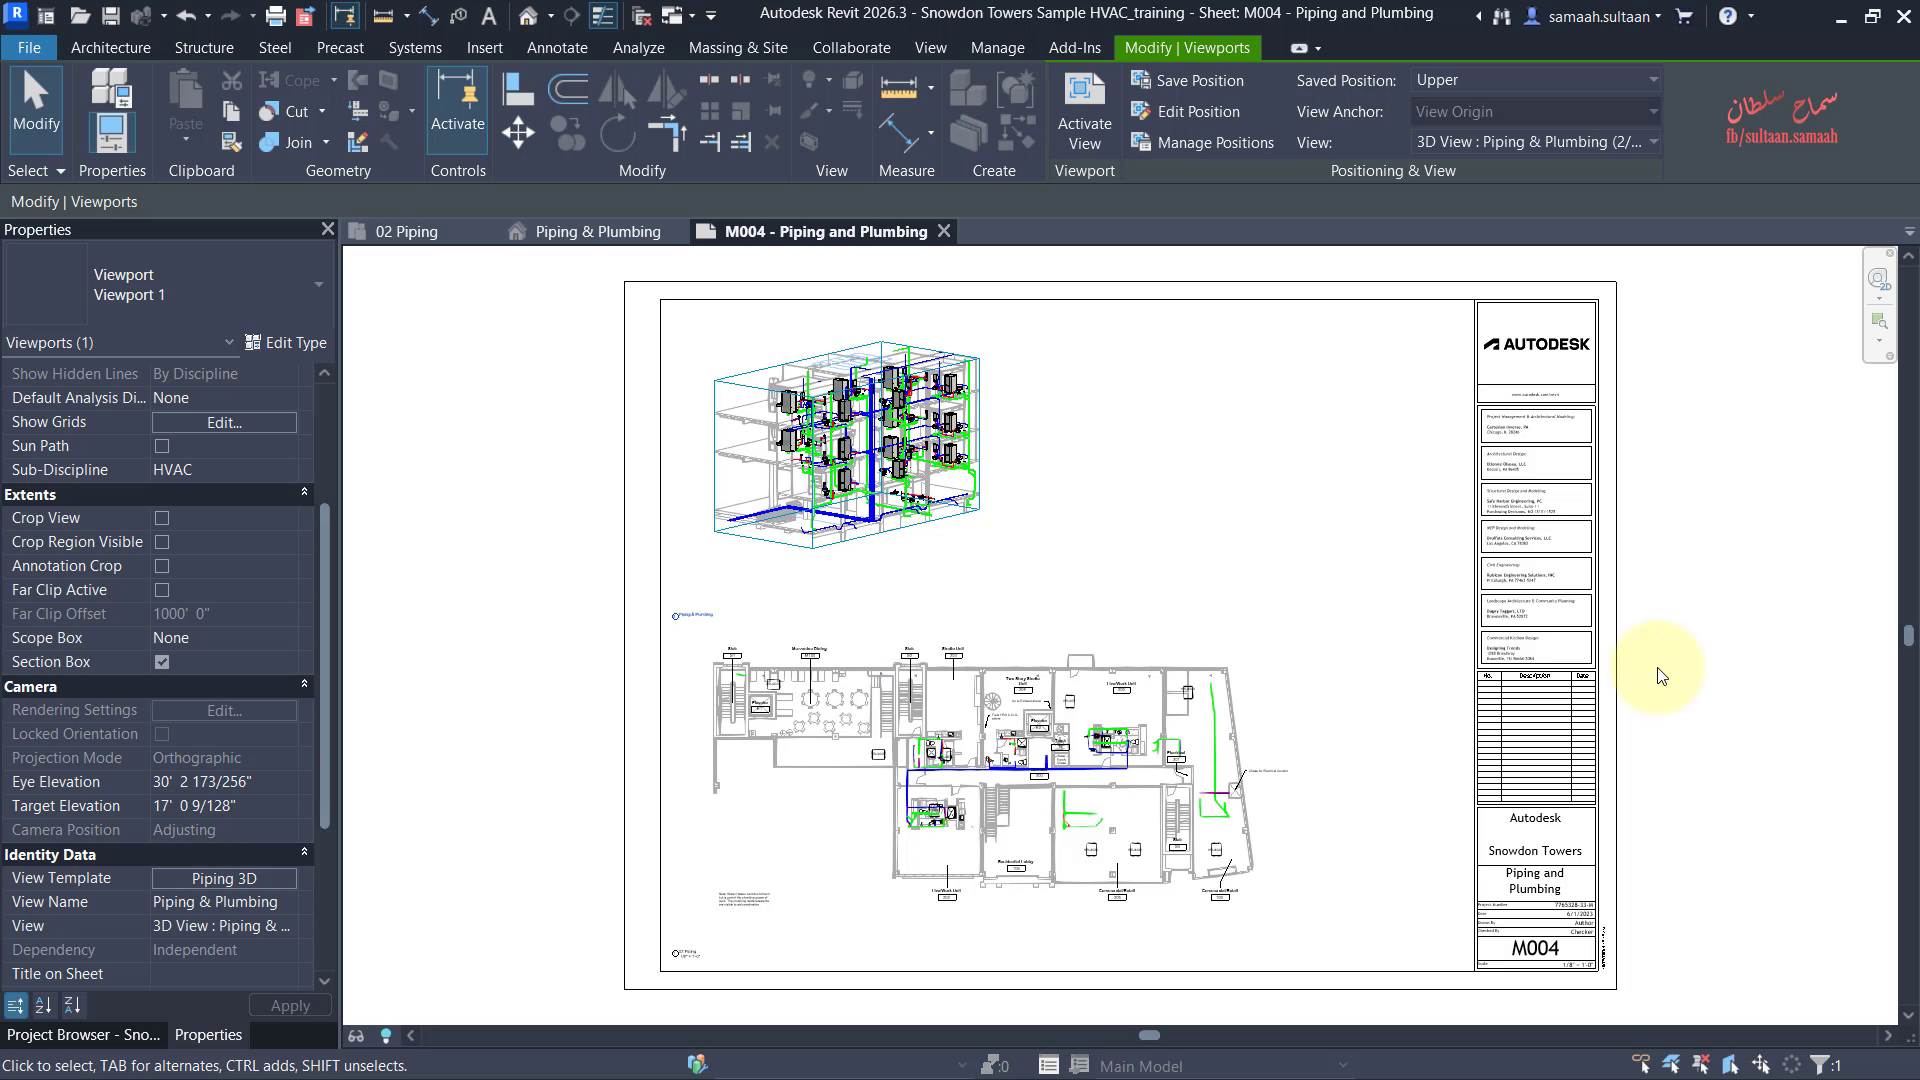
1 — Select Export / CAD formats as shown in picture

2 — Select the view which will be exported

3 — This window concerns naming the file to be exported and choosing your AutoCAD version


4 — Revit exported the view to these files, now we will open the CAD file

5 — Now we open the CAD file in AutoCAD after exporting

🎯 Ready to start your journey? Browse our courses now:

AutoCAD Plant 3D
FeaturedAutoCAD Plant 3D – Complete Training (4 Hours) 🎥 Note: The course introduction (promo video) is available in the “Course
$50$10BIM Revit Mechanical (Project Workflow from Start to End)
BIM Revit Mechanical (Project Workflow from Start to End) 🎥 Note: The course introduction (promo video) is available in the
$50$10BIM Revit MEP Families Basics (Mech & Elec)
BIM Revit MEP Families Basics (Mech & Elec) 🎥 Note: The course introduction (promo video) is available in the “Course
$50$10Master AutoCAD MEP
🎥 Note: The course introduction and free preview videos are available in the “Course Curriculum” section below. 🟢 AutoCAD MEP
$100$40Revit MEP 2023 Basics (BIM For Contractor) Crash Course
FeaturedRevit MEP Basics for Contractors 🎥 You can watch the course introduction (promo video) in the “Course Curriculum” below, specifically
$50$10
Leave a Reply